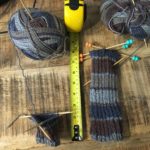
This project is in progress check back soon for more updates.
I want to start with a quick statement: This is way harder than it looks! I have a new respect for all of knitters out there! Of course that kind of gets at the core of why I am “Making Ten Everyday Things.” There are things that I use everyday, that I have never really thought about how they were made/manufactured/etc.
Learning to Knit
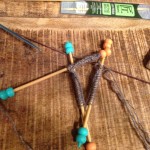
According to the #The_Wookie (aka my girlfriend), I needed to learn to knit before I could actually knit a pair of socks. To start learning she took me to Hobby Lobby and we purchased a pair of bamboo knitting needles and some yarn. The observant reader might ask, “Why bamboo knitting needles?” Well this is where the learning begins: Wood knitting needles are easier to learn on because the yarn doesn’t slide on the needles as easily as metal or plastic, but once you are good at knitting they slow you down. To start, #The_Wookie “cast on” a number of “stitches”, knitted the first row and handed it to me and patiently explained how to knit and then how to purl. Of course, she was amazed that I was actually knitting and so video evidence was created for your viewing pleasure. At this point, I was just excited to be knitting, so I knitted into the wee-hours of the night and was very proud of my awesome new skill.
The next day, I got to looking at my very short ~5 inch “scarf” and it was riddled with mistakes. It was full of holes, caused by dropped stitches, and it had steadily grown in width as I added more and more rows. At this point, I was a little down trodden but low and behold #The_Wookie had a book on how to knit. She also suggested switching to a lighter colored yarn so that I could see my mistakes a little easier. Armed with a book written by Disney for young girls (and before you yell “sexist”, there are absolutely no pictures of boys knitting in this book) and pink yarn, I started over!
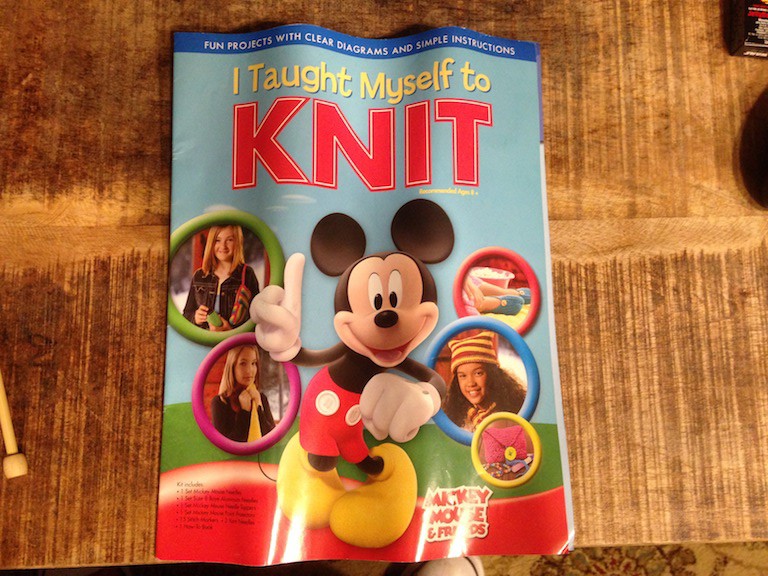
Actually, the book and the lighter colored yarn helped alot! The lighter color yarn made it really easy to figure out where I dropped a stitch or purled instead of knitted. The book showed me how to cast on and it also had a bunch of suggestions on how to fix mistakes. During this time, I also got upgraded to metal needles, which really help me knit faster.
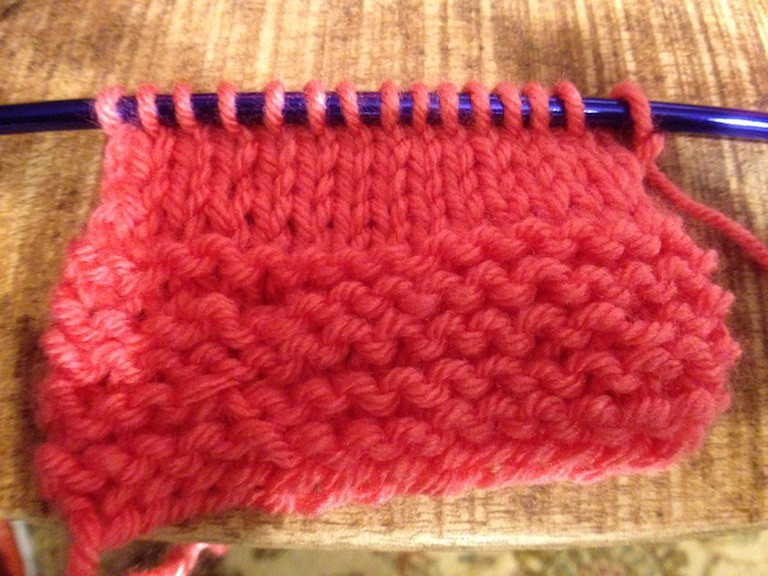
I started watching a bunch of videos to get a better idea of how to hold and wrap the yarn. I learned the difference between English Throwing style and Continental knitting. This video was really informative on the different styles:
Even though I seem to be getting the hang of knitting after two squirrel scarves, I think I am going to keep practicing how to knit for a while before I start to tackle the socks.
Knitted Sock Patterns
In parallel to learning how to knit I began looking at sock patterns. There are a ton of different ways to knit socks, from the toe up, from the top down, with decorative stitches, plain socks, using circular knitting needles, using double point needles, worsted weight yarn, sock weight yarn, short socks, tall socks… the options are endless. Just Google “knitting socks patterns”. I looked at a bunch of different patterns and tutorials and settled on two possible routes:
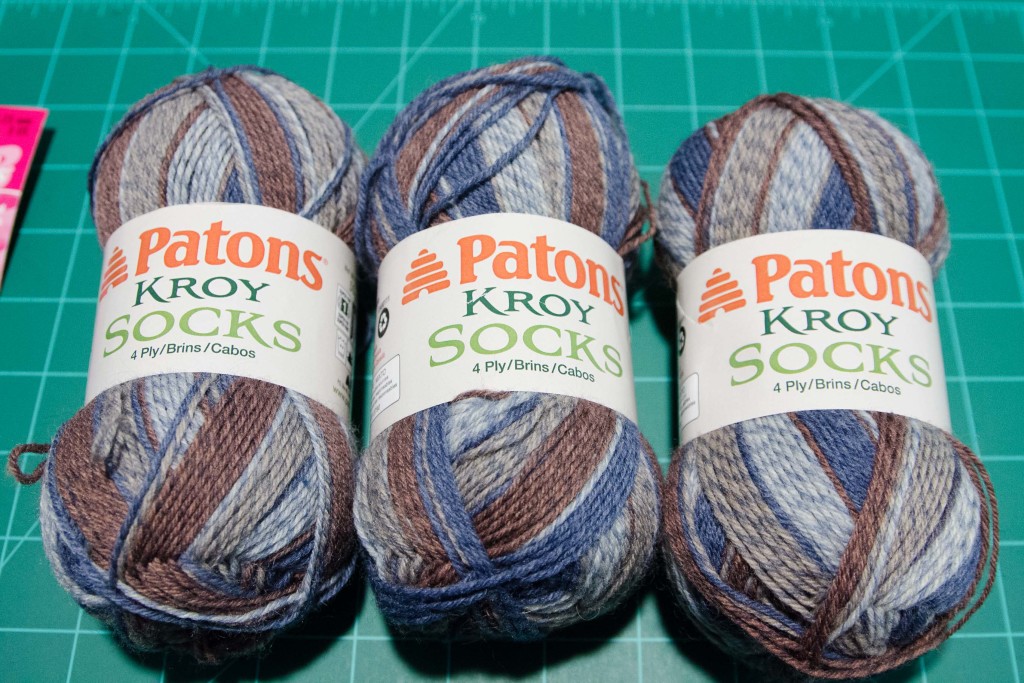
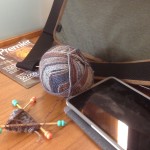
Both patterns have clear instructions and used double point needles, which seems to recommended for beginners. I was planning on using the Canadian Living pattern because the had very clear changes in the number of stitches used based on the size of your foot. Once I settled on a pattern, I went shopping again! I walked up and down the yarn aisles at JoAnn’s looking for the perfect yarn, something soft, yet warm and manly. I decided on a blue, grey, and brown self-striping yarn. I also purchased some a set of bamboo #3 double point needles and a set of #3 aluminum needles based on the suggested needle size on the back of the yarn.
At this point, I began working on the Canadian Living pattern which starts with knitting a gauge to test your tension. This is typically used to make small adjustments to the number of stitches that you are using to make sure that the final product is the right size. I started to knit the gauge by casting on the 20 stitches then knitting a couple of rows. The gauge piece was suppose to be approximately 4 inches across, mine was less than 3 inches. What I had failed to account for was the size of the yarn that the pattern was using, there where using a worsted weight yarn (which is bigger) and larger knitting needles (4 mm instead of 3 mm). Lesson Learned… Always check the pattern for the approximate gauge and/or suggested yarn weight. At this point, I debated buying new yarn, but I can be a little hard headed so I started looking at patterns again. A quick look at Come to Silver’s sock class (The other pattern above) revealed that her pattern had the stitch counts for 3 different yarn weights and the one I purchased was one of them! Another notable advantage of Silver’s pattern was there are tons of pictures.
Knitting the Socks
Here is a quick rundown on what I have done so far:
- Learn to Knit – I wouldn’t say I am an expert at this point, but I understand what I need to do…. kind of. At some point during while making the socks, I have to drop stitches, pick up stitches and bind off, which I have not yet figured out how to do. I figure I can wing it when I get to that point.
- Found a pattern
- Purchased yarn – figured out afterwards that the pattern I picked dosen’t work with the yarn I bought
- Found a new pattern – Come to Sliver’s Sock Class is more of a tutorial which is great and it works with the yarn that I bought!
- I guess it is time to start knitting socks…. This might take a while.
Started Knitting Socks – Jan 17th 2016
To start, I had to cast on the correct number of stitches on to the needles. There are a couple different techniques for this, but I used the one suggested by Silver’s course (I think, the link provided did not work). I found a helpful video that shows step-by-step how to do it:
Day 6 of Knitting
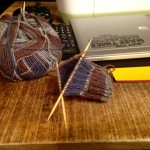
I have knitted 8 rows of one sock in the past week, it is about 3/4 of an inch long. The pattern calls for 8 inches of this before I start on the heal. This is definitely going to take a while. On the other hand, I have knitted enough to see the color of the yarn change and it looks really cool!
Day 17 of Knitting
After 17 days of knitting I am have 2.9 inches of sock. That is 0.17 inches per day…. I think snails move faster (This website confirms that hypothesis: Speed of a garden snail). I am getting better at doing things while knitting like watching TV or having conversation, so that should help speed up the process. So far, I have only knitted when I was suppose to perl or vise-versa a couple of times (that are permanent anyway) and I have only dropped one stitch.
Day 35 of Knitting
I am up to 4 inches of sock! I have not a lot of time to knit lately. #The_Wookie has been so helpful with my projects, I volunteered to help her work on a quilt.
Day 42 of Knitting
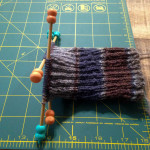
I have a new goal, I am going to try to knit a little bit every day. So far that has been working but we will see if I can keep it up. I am currently up to 5.5 inches of the cuff of the sock, and I only need 8 inches of cuff before I start to work on the heel. Once I finish the first cuff, I am half tempted to start the cuff of the second sock so I work each section of the socks together.
Day 104 of Knitting
So… It has been a while since I updated this. My goal of a little bit everyday did not happen, but I have been making progress. I have finished the cuff on one of the socks and started working on the second cuff. I am have about 2 inches of the seconds cuff done. Since I started the second sock, I went ahead an bought 2 more balls of yarn so that I don’t run out.
